Upcycled Fall Wreath (for less than $2)
Whew! It’s been a busy week around here but I’ll give you all those details soon, I’ve been dying to find an extra bit of time so I can share today’s project with you! We made this wreath a little over a week ago and at the time I didn’t even think of making it for a tutorial on the blog but later thought it would be a great one to post. So, there aren’t step by step photos of the process but I’m writing it out as thoroughly as possible and snapped some after photos. This craft is $2 (or LESS!) and with things you usually have on hand around the house which is what I’m constantly trying to thrive for here. The initial construction of the wreath I did mostly myself and allowed A to have snack and do a different activity. With the need of the utility knife it was tougher to have her included but I did have her hop in on the fun with wrapping the brown paper bag strips. As you’ll see from the photos under the instructions, this wreath is super thin and light weight!
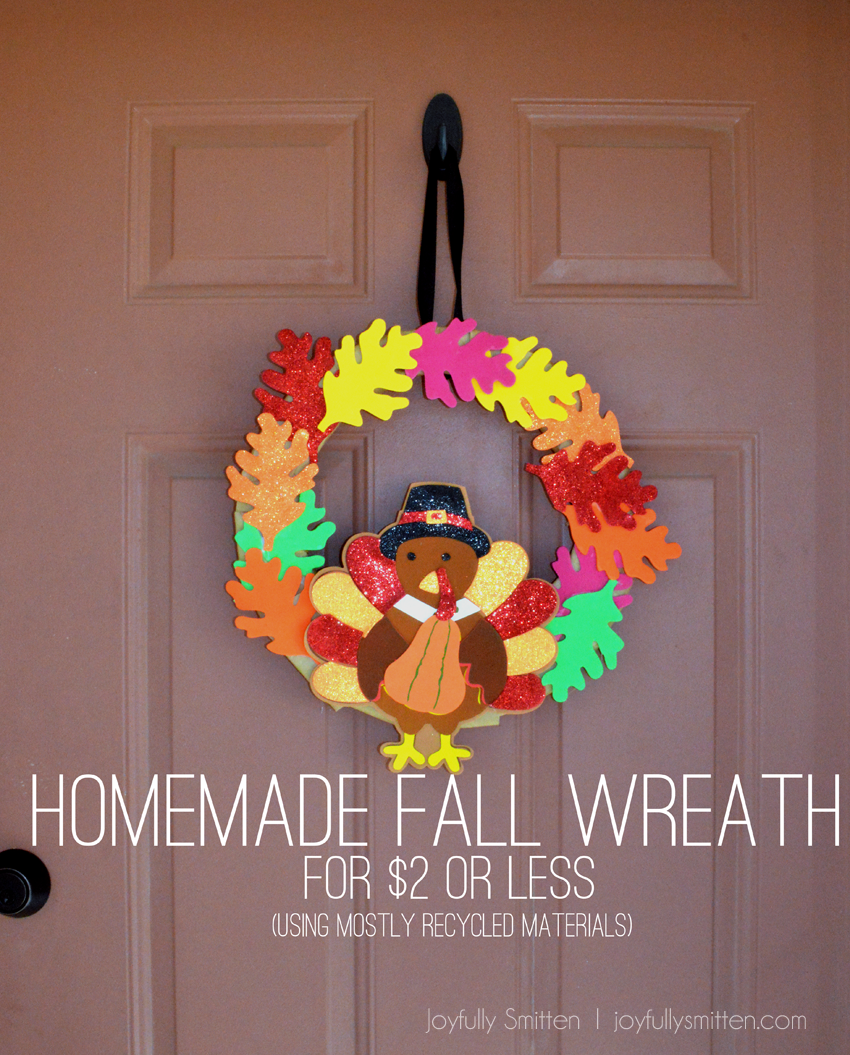
What you need:
- Cardboard – two pieces that is tall and wide enough for your desired size.
- A large bowl or other round shape to trace a your desired circle size for your wreath
- Glue – hot clue and/or elmers glue
- $1 Foam Turkey making kit (dollar Tree) – OR – make these hand and foot turkeys
- $1 Foam Fall Leaves (Target $1 Spot) – OR – use real leaves from outdoors or cut your own from paper
- Paper Sack cut into strips (or newspaper…or twine…whatever you have on hand mamas)
- Utility Knife – you could also use scissors if you need to
- Ribbon to hang it.
What to Do:
- Trace your circle onto the cardboard with a pen. Trace two circles on two pieces of cardboard. I cut one from one side of the box.
- Cut out the large circle with your utility knife on both pieces of cardboard.
- Once the outside circle is cut, cut the inside of the wreath out. In the photo of the finished product below you will see that I decided on the width I wanted my wreath the be, cut out the top three-quarters of the cardboard and then made a small hump in the cardboard to support our foam turkey. If you are not using a foam turkey, don’t worry about the hump.
- For the second piece of cardboard, if you are doing the hump make sure you are tracing the cardbard the direction you will be gluing it. What I mean by this, is make sure if you are using a cardboard piece with writing on it and plan to have it face inwards, make sure you have your cut piece and the piece to cut facing one another so they can be glued together seamlessly.
- Once both pieces of cardboard are cut out, hot glue (or regularly glue may work) the two pieces together. I squiggled the glue on to make good coverage.
- Now, take your cardboard paper strips and begin gluing them piece by piece on to the cardboard. You can leave this step out, I just felt like it gave it more of a completed, rustic look. I wrapped the pieces at an angle. Once one was complete I started another until I was all the way around the wreath.
- Once you are completely covered with the paper strips it’s time to add the turkey and the leaves. When we created the wreath, we made the turkey first, took a break then assembled the wreath so it was all ready. If you didn’t do it already though, go ahead and make your turkey. If you are making these hand and foot turkeys instead, it would be a good time to do that and let both activities dry for a while.
- Go ahead and add the ribbon onto the back now with some hot glue. It’s one last step you have to do at the end after the front dries.
- Now add the leaves. You can use the foam leaves like we did, use tissue paper, use real leaves or cut out leaves from construction paper. For us, I just put a good amount of glue on it and let A go to town on sticking them however she wanted.
- Let it dry & hang!

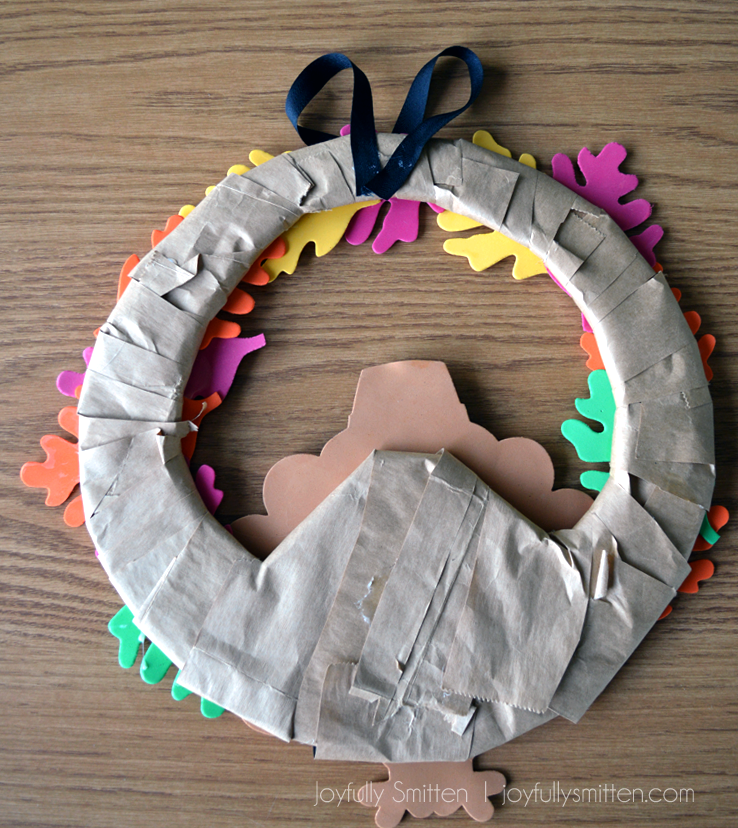
Alternative Project or Thoughts…If you don’t have cardboard or do and don’t want to use a utility knife…you can even use a paper plate or plastic tossable plate and scissors. Your wreath will just be smaller and even lighter. Don’t overthink this mamas, and don’t stress. It’s about the hands on activity NOT the perfect end product. So. If you want it even smaller and simpler…use a plate I mentioned above, outside leaves and glue. It’s fun and simple. Turn it into a nature adventure collecting leaves and then paste them around the plate!

We are loving our Fall Wreath and I love even more that it’s something we were able to create using mostly stuff that we had! Those are the best projects, the ones that don’t cost me lots and lots of money. I had thought about making a tradition wreath but decided this was such a better project because I could allow A to be hands on with it and for minimal cost!
Will you be creating this wreath?! Make sure to tag me on social media if you do, or leave me your post in the comments or via email. I love seeing you all hands on with your kiddos. I just may repost it or share it on my social media outlets!