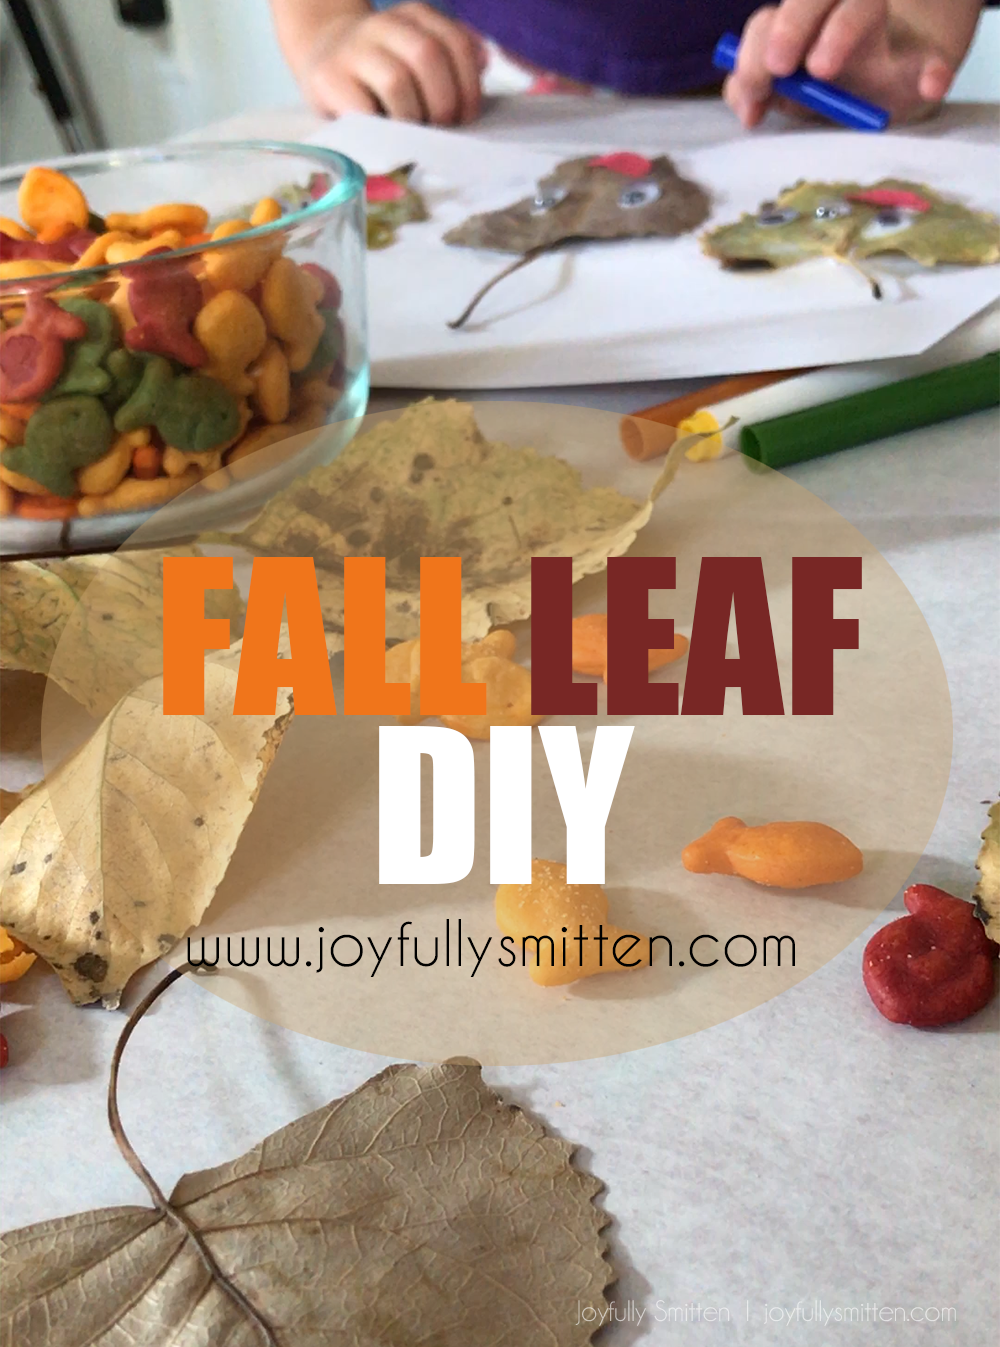
Fall Leaf DIY with Goldfish
Fall is a favorite around here. The leaves changing from greens to yellows, oranges and reds make for such a beautiful view. Every year we collect fallen leaves and create crafts with them, it’s like an unspoken tradition around here. We find a beautiful day, head to the park with a bag, and start collecting.
Every year I find a different craft for us to make to keep things interesting. We’ve done paintings and flower pots, among another crafts. I feel like taking the time to make these little memories is so important because time is fleeting. To do lists will always be there but we only have today and we better get all the smiles we can out of it.
This year we turned them into fun leaf characters as our Fall Leaf DIY. A and I made them during one of B’s nap times for this one and we’ll do another fun craft later including him. This one though, was a bit over his head and I know how much she thrives on some good one on one time. It was quick and easy – I’m pretty sure you’ll love it too!

Here is what you will need for your Fall Leave DIY craft:
- Leaves
- Googly Eyes
- Paper – cardstock or construction paper is great
- Glue
- Markers or crayons for decorating
- A delicious snack like Goldfish®

The Process:
First thing first is you are going to need some leaves. Head to your yard or your local park and get collecting! We picked up a variety of shapes and colors!
Select your first leaf to stick to the paper. There are no rules for this. Stem up, or stem down – let you little one turn this into their own creation. Watching their creative minds at work is priceless. For ours, A picked up!


Glue your leaf down to the paper. We used some extra glue on ours because they got a little too crunchy when we set them outside to make sure they weren’t damp. A little extra glue will help soften them up.
Add your Googly eyes and mouths! My adult mind gravitated to two eyes on each one but I loved how A decided to add three eyes to two different leaves in her picture. I really am intentional on guiding her in the activities we do but not directing her step by step. By doing this, she adds her extra fun into the crafts we make. We also add construction paper mouths!
Continue to add as many leaves with eyes as you choose! Again – no rules here! We went with three and it fit out paper well but you could just go for one, or you could fill your entire paper.
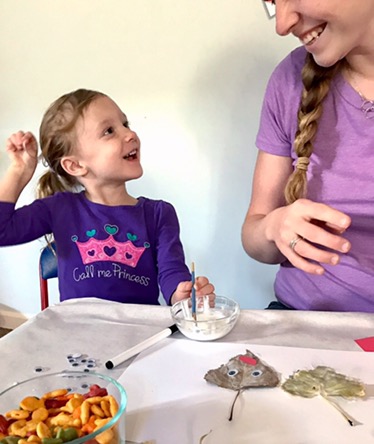
Let Your Fall Leaf DIY Craft Dry. If you use as much glue as we did you’ll need a little bit of time for it to dry. This is a good time for picking up the glue and extra accessories you don’t need to decorate further!
Decorate Your Leaves! We used markers to add legs, arms, a sun, and the grass. For this step I encouraged her to draw legs so she understood my idea for the craft and she ran with it! She then decided to add arms. I told her she could make a scene by adding a sun and the ground. Later after we finished, she even added more!
We made a fun video of our decorating our Fall Leaf DIY! Check it out below:
So there you have it friends, another fall craft in the book with my sweet girl! My biggest recommendation when doing crafts with your little ones: Have fun and enjoy one another! We enjoyed laughing and talking during our craft – plus we ate our Goldfish® Colors that I picked up at the store. Adding a snack that A enjoys added a level of fun for her. Plus, the colors fit so nicely will Fall.  ENTER THE #GOLDFISHTALESPROMOTION FOR CHANCE TO WIN!
Now it’s your turn to make some memories and with your littles then share them! Goldfish® is having promotional theme giveaways and October’s theme is SPOOKY! So, if Goldfish® crackers bring a smile to your family’s faces like they do ours, then be sure to share your Goldfish® Tale using the hashtag #GoldfishTalesPromotion on Instagram or Twitter! By entering, you could win awesome prizes!