
Make Your Own Watercolors
A few weeks ago we went to the library my mom frequents and made homemade watercolors! We originally thought we would make them and paint with them that day but we actually just made them because they had to set up for about 48 hours. Yowch. Mom fail, A was so excited about art class….but she had a great time making them. I didn’t get any good photos of making them but wanted to share the recipe that we used with you so you can make them at home too. I really like that we made them with items that we usually have in our pantry, not to mention even though they would taste horrible if some got in A’s mouth (or the dog’s) it’s not toxic.

What You Need:
- 8 Tbsp baking soda
- 4 Tbsp Vinegar
- 1 tsp Karo Syrup
- 4 Tbsp cornstarch
- Food Coloring
- Small Containers 10 of them – we used ULINE 2 oz condiment containers with lids BUT you could use anything around the house – mini muffin tin or ice cup tray would work great too. Use what you have!
- Plastic cup or a bowl for mixing
What You Do:
- Pour your vinegar and baking soda in your mixing bowl or mixing cup and mix.
- Wait for the fizzing to stop.
- Add in your cornstarch and your cornsyrup to the mixture and mix well.
- If it’s too stiff add more cornsyrup, if it’s too soupy add more cornstarch. You should have a smooth mixture that has a tiny pull when you are mixing.
- Pour into your containers, about half way up on the 2oz containers, this allows for some extra splashing of water later.
- Add in your food coloring, and add until your desired color. We wanted to have a variety of colors, so we used regular colors and neon colors, as well as, mixed a few colors for custom onesIf you use gel colors your consistency will stay the same, but if you use liquid colors you may just have to use a tiny bit of extra cornstarch to balance it out. If you add TOO much color but the consistency is good don’t worry about it – the color will rise to the top once dry and you can poor it off!
- Let your paints dry. If you are using cups with lids, take off the lids so they can air dry but the lids make a super great way to store them later! This takes about 36-48 hours, so mamas – this is a two step process. The kiddos will have fun with both parts!
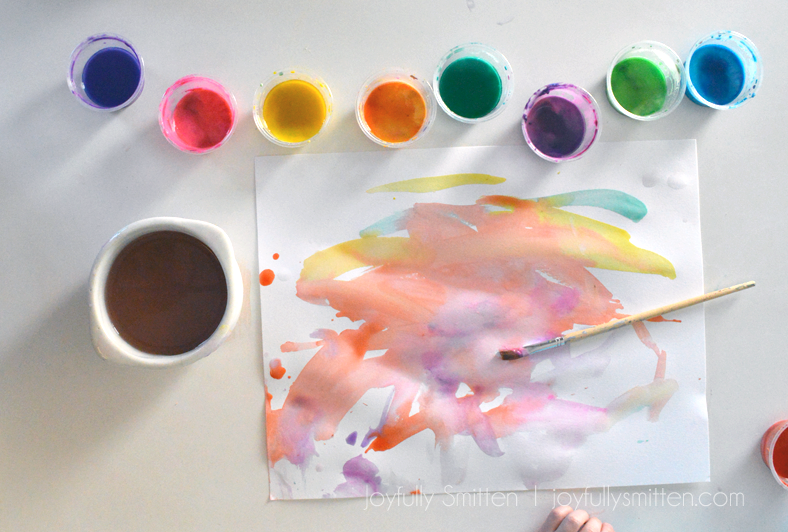
- Paint! Once your paints are dry add a little water to them and get to painting!



Some things of note:
- We got some of the mixture after food coloring was added on our clothes and I was worried we thrashed our clothes, but tossed them in the wash with no pretreating the next day and they came out like no big deal. So don’t stress too much. The vinegar and the baking soda activated in the wash and pull out the color! Yay!
- If your consistency is too thick or isn’t mixed well, your paint might be too dry. This happened in a color of ours and it wasn’t usable. It was the last cup we poured from the mixing cup so we just didn’t get it mixed like it should have been.
- Due to the nature of these paints they take a bit more water than usual store bought ones. I put about 1/2 tsp of water before using the paints just to get them a little wetter and work better.
What do you think? Is this a fun project you’ll be doing with your kiddos or will you be sticking to store bought? If so, we’d love to see them!I love seeing you all hands on with your kiddos. I just may repost it or share it on my social media outlets!