
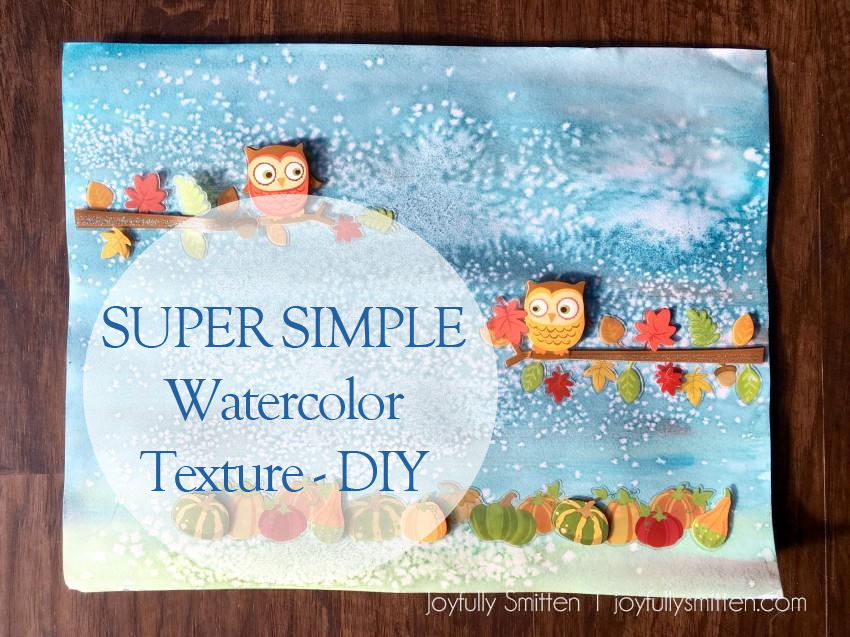
Watercolor Texture – DIY
Spring is officially here, but after weeks of Spring weather snow is definitely in our forecast this week so Mother Nature is certainly on the fritz right now here in Colorado. We’ve been spoiled with the Spring weather when it should have been snowing regularly and now I’m wishing we would have just gotten the snow earlier like we hoped. The Spring goodness was such a tease coming early.
To make things even more seasonally chaotic – today’s DIY looks more like Autumn, so bear with me. Autumn owls just happened to be what we had on hand last week that the kiddo picked out and I’ve been dragging my feet for far too long when it comes to sharing this fun watercolor technique with you guys. It’s super easy but it makes a fun addition to watercolor pictures. A gets a kick out of it when we do it. Plus, it makes for extra fun when creating snow in photos, stars in a dark sky image, or even just a fun texture to a non-specific piece.
 All you need is:
- paper – watercolor, mixed media or even a heavy cardstock.
- watercolors
- water
- a brush
- salt
- stickers if you want to add more to your artwork but it’s certainly not required.
Here’s what you’ll do:
- Get your paper all wet first, then add the water colors on adding more water as needed. The darker the colors on the paper the more of a pop the salt is going to create.

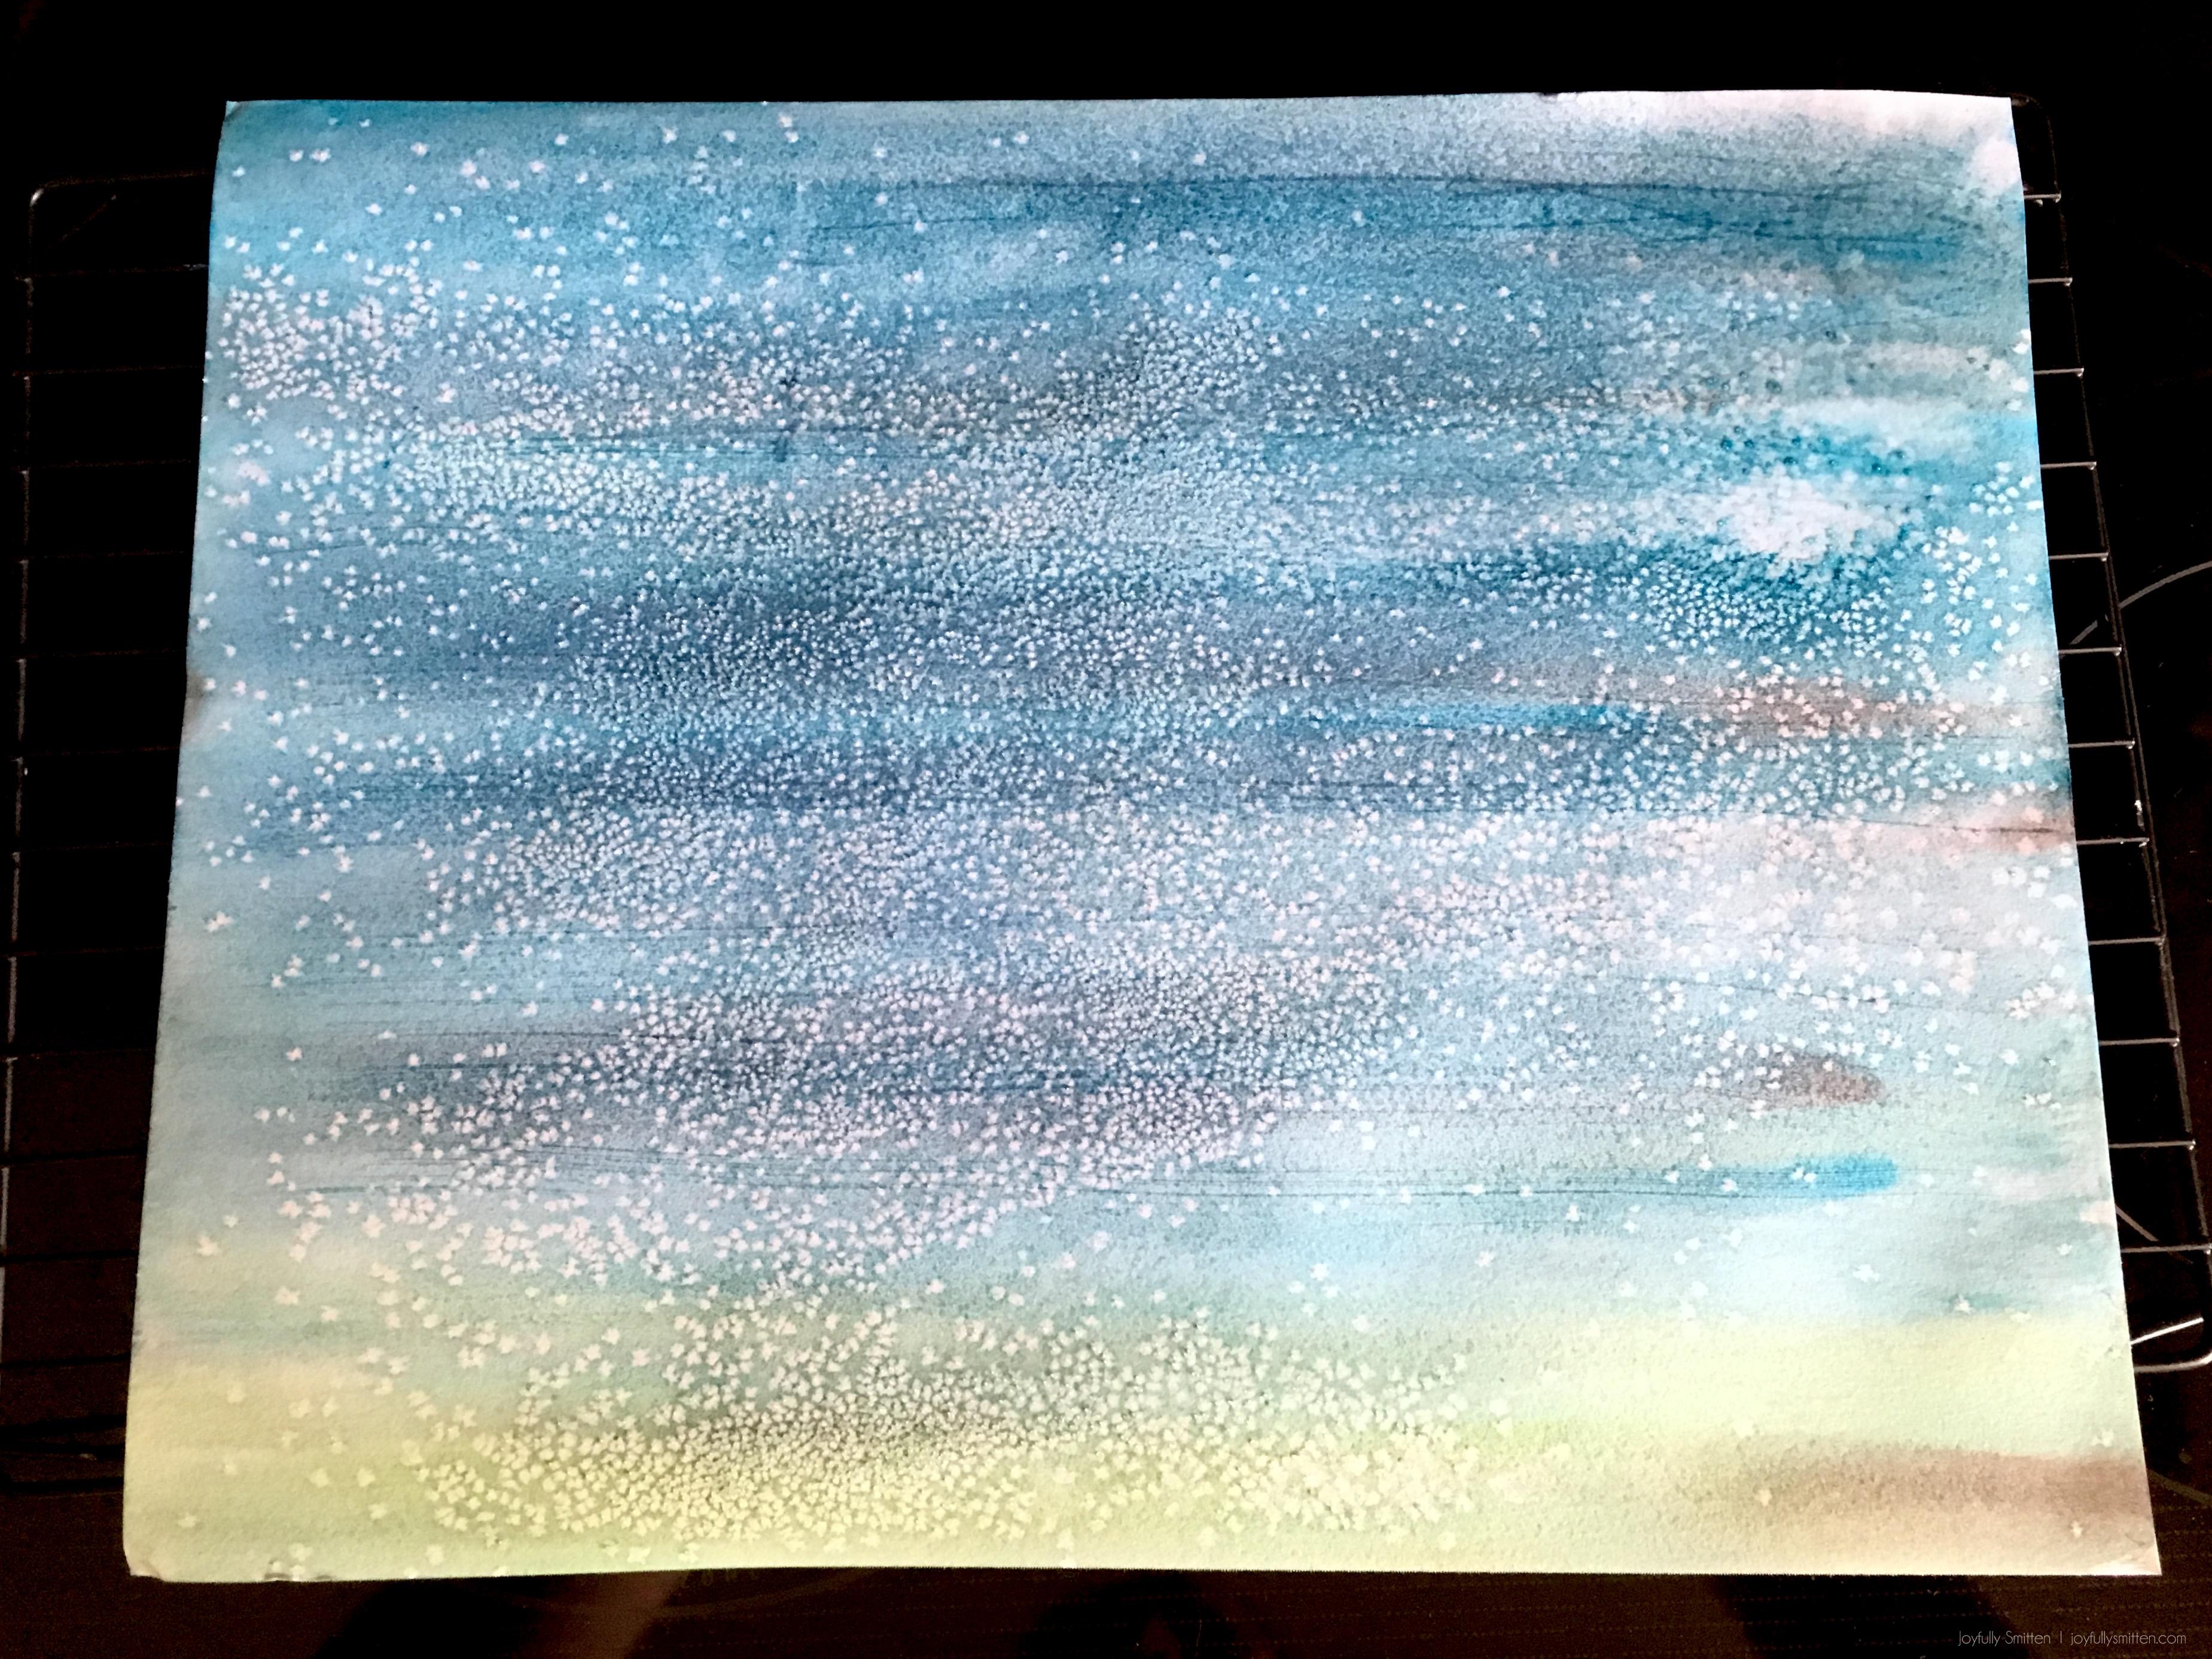
- Once your paper is completely covered in the watercolor look you have created, sprinkle on salt. You can do it all over or keep it in a certain area. The options are limitless really. The more salt you put in one place the more color it will pull away from the page. The further apart you keep the salt the more sporadic it will be.
- Let the salt dry. This takes time. The first time we did this technique last year I was certain it wasn’t working, got impatient and added more salt which was way too much. Give it time. The salt will slowly absorb the watercolor from the page.

- Once your paper is dry the salt will remain stuck to the page. Brush off the salt so you don’t lose it along the way. If you leave it, it’ll slowly just come off leaving salt all over you and your kiddo.
- Add more to your project if you choose like paper, crayons or markers…or just leave it how it is!




Tell us what you think! Do you love the look of this fun texture? What ideas to you have to use it for? Inspired by this projects? If you make it – tag us on social media so we can check it out and share it!


Such a fun idea! I need to get the kids some watercolors 🙂
We will be creating this for sure!!